
From your first color to your last turn
Three steps. Keep your cube beside you and take your time.
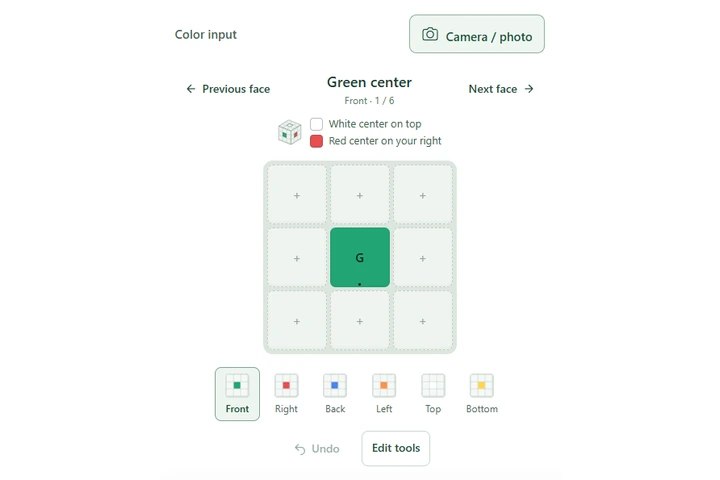 Match the holding picture → fill the face
01
Enter the colors
Choose a color, then tap or drag across the flat squares. Undo removes your last stroke. Previous face and Next face switch faces; the six small grids let you jump to any face. You can also paint directly on the 3D cube.
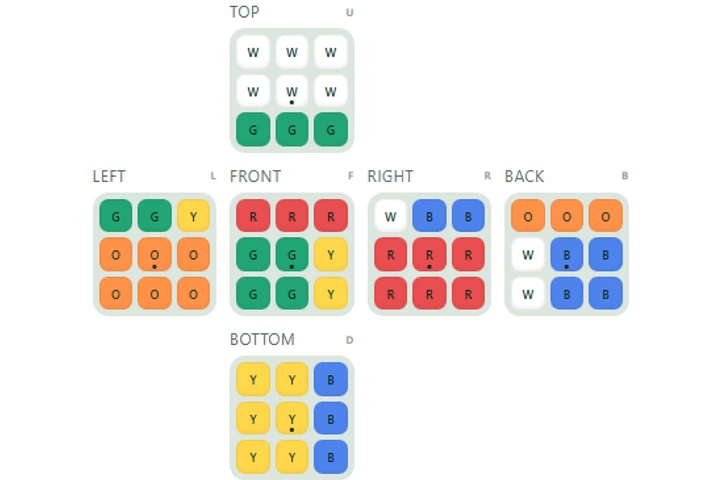 9 of each color
02
Check all six faces
Choose “Edit tools” → “Show all faces” to compare all six faces. Each color needs 9 stickers. Recheck the back, top and bottom, then press “Solve my cube”.
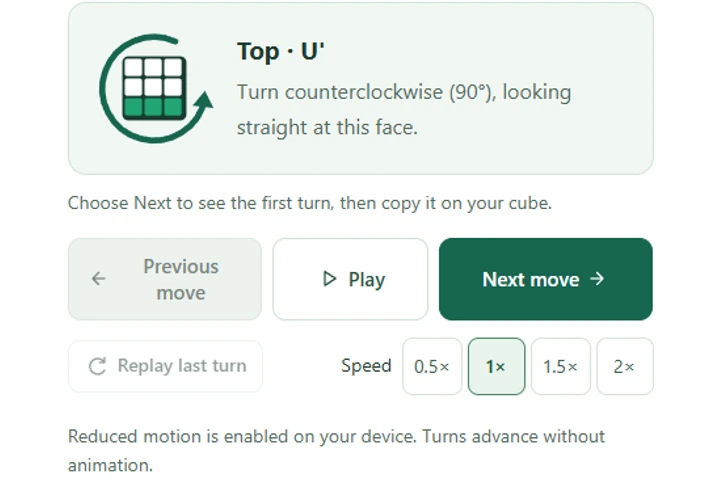 Watch → turn your cube → Next
03
Follow one move at a time
Match the starting position first. Press Next to watch a turn, copy it on your real cube, then continue. Replay repeats the demonstration; it does not mean you should turn your cube twice.
1. Choose your cube and its orientation
Open the 3×3 solver or the 2×2 solver. For a standard 3×3, hold the white center on top and the green center facing you. The red center should be on the right. The editor’s centers are locked to this scheme.
For a 2×2, choose an initial front and top and remember them. There are no centers to guide you. Do not change what you call “front” halfway through entering the colors.
Remember this starting position.
White center on top. Green center in front. Red center on the right.
A center tells you which face you are looking at, but it cannot tell you which of its four edges is up. Match two centers: the one facing you and the one on top. For example, when entering the orange face, keep the white center on top; the green center will be on your right. The holding picture above the grid shows this for every face. Only its centers are colored because the surrounding stickers can be any color.
2. Follow the six faces in order
Choose a color from the shared palette. In the flat grid, tap a square or drag across several squares to paint them together. Undo removes the whole stroke. On the 3D cube, left-click to paint and right-drag to look around; on a phone, tap to paint and drag to rotate. The buttons below the cube let you switch to “Rotate only”, choose a face or zoom. Tap the question mark for help.
Start with one face and its holding guide, or choose “Edit tools” → “Show all faces” to see all six faces together. Choose a palette color, then click or tap each matching sticker. You can also use Tab and Enter with a keyboard. The color letters W, R, G, Y, O, and B help distinguish stickers.
Use “Previous face” and “Next face” above the grid to move between faces. The six small grids below show your entered colors. Click one to jump to that face. Your entered colors stay in place. Turn the whole cube until its centers match the holding picture above the grid, then copy what you see.
- Start with green facing you and white on top.
- Copy one side, turn the whole cube left, and repeat until all four sides are entered.
- From orange, bring the white face toward you. Red is now above it. No need to return to green.
- Tip the cube over twice (180°). Yellow faces you, with orange above it. Keep green on your right.
The manual editor uses the holding pictures above. The photo solver lets you start from any face and follows numbered photos instead.
A 3×3 needs nine stickers of each color; a 2×2 needs four. Use the eraser to correct a sticker. “Clear all” starts a fresh input.
Undo and Redo recover recent edits. “Rotate colors 90°” in Edit tools corrects a grid copied at the wrong angle; it does not turn a layer. “Fill last color” becomes available when only one color remains and the piece checks permit it. Red outlines identify suspect stickers.
Optional: use a photo instead of painting
- Start with any face. Check each photo and its outline, then choose Next to see how to turn your cube. Turn the whole cube left for the first four sides, bring the top toward you for photo 5, then flip to the opposite face for photo 6. Keep the layers still.
- Use the camera, upload one photo at a time, or drop all six in shot order. Photos are numbered 1–6. Take a flat view of each face in even light. You do not need to include neighboring faces in the photo.
- The 3D cube updates while you adjust the outline. Choose a color and tap any wrong square on the grid or the highlighted 3D face. Check this face before choosing Next.
- Check everything together in 3D after the sixth photo. Tap a numbered photo, rotate its colors or change its place in the sequence. Pick a color and tap the 3D cube or the small grid to correct a square. Check the middle squares too.
From a photo to your next turn
One face at a time. Here is what to look for.
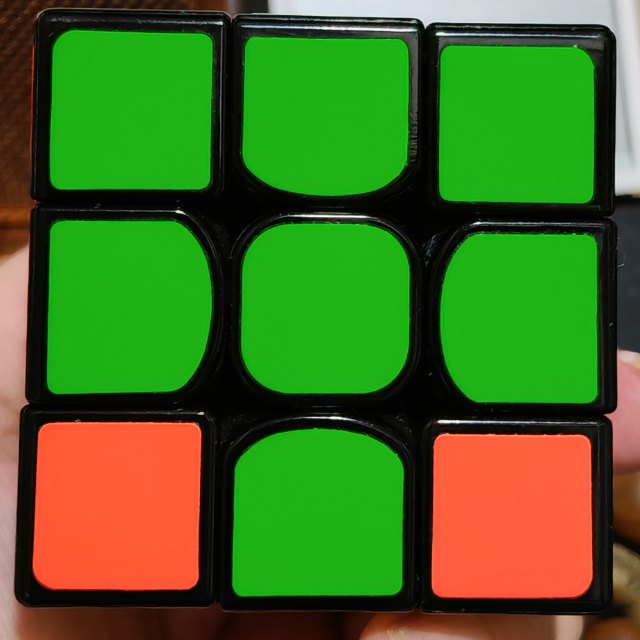
1Take one clear photo
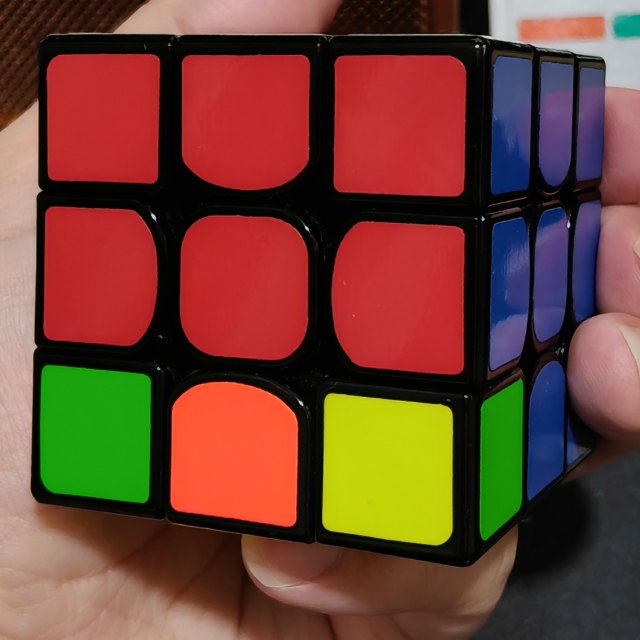
Start with any face. Show all its squares, keep your hand out of the way and avoid reflections. Keep the cube still while you check the photo.
2Fit the four corners
A little tilt is fine. Put each dot on an outside corner of the face you want to read. Leave any neighboring face outside the grid.
The 3D cube updates while you adjust the outline. Choose a color and tap any wrong square on the grid or the highlighted 3D face. Check this face before choosing Next.
3Confirm, then turn
Choose Next when the photo looks right. The animation shows how to turn the whole cube for the next shot. Keep its layers still and follow the same steps for all six photos.
Six photos. One cube to check.
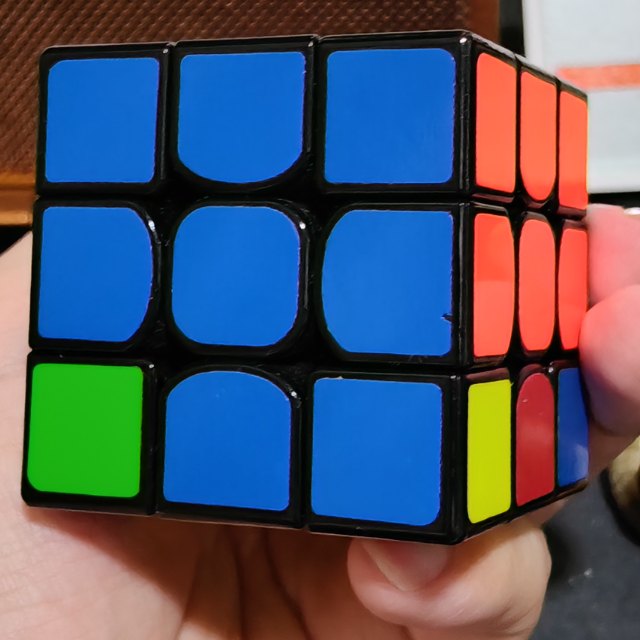
These six photos show the same cube. After your sixth photo, compare the 3D preview with your cube. Rotate a sideways face or tap a square to fix its color before solving.
- 1
- 2
 3
3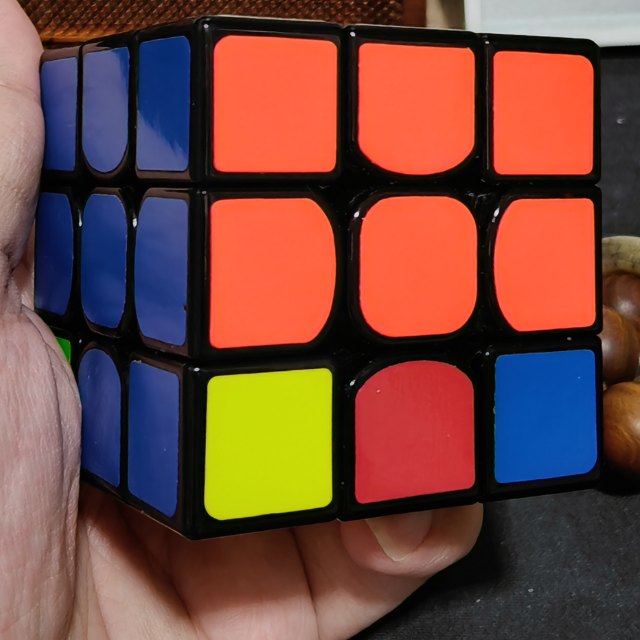 4
4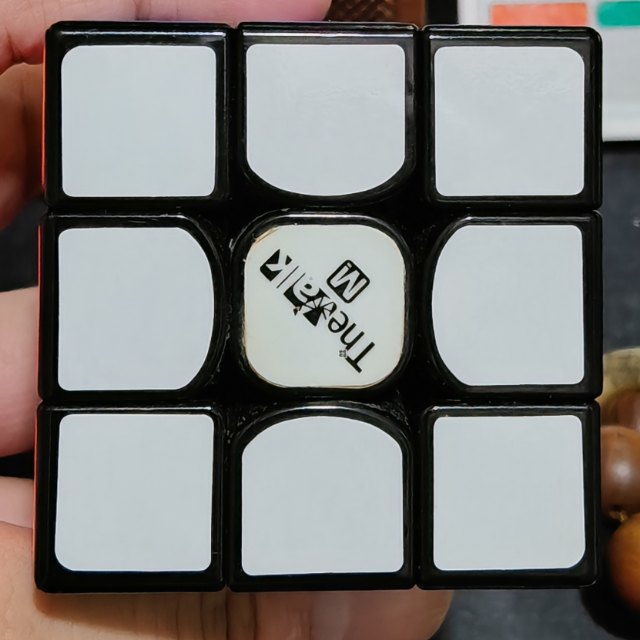 5
5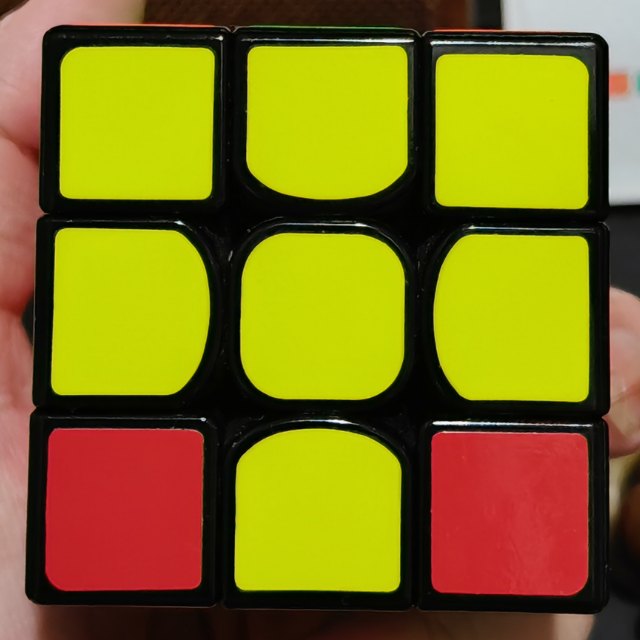 6
6
3. Check the cube and calculate
Press “Solve my cube” after every sticker is filled. The first calculation needs to prepare search tables and may take a few seconds. You can cancel a slow calculation. If there is an error, recheck color counts, the back face, and the orientation of the top and bottom grids.
A single flipped edge or twisted corner is physically impossible to solve with normal face turns. These errors can also result from a copying mistake, so inspect your entry before taking apart your puzzle.
Compare the color-error examples if the counts look right but the cube is rejected.
4. Match each preview step on your real cube
First, match the starting preview. On a 3×3, put the white center on top, green in front, and red on your right. Turn the whole cube to get there, without twisting any layers. On a 2×2, return to the front and top you chose when entering colors. Choose “My cube matches — continue” when you are ready.
Press Next to watch one turn, copy it on your real cube, then press Next again when you are ready for the following turn. Directions are always from the viewpoint of someone looking straight at the named face.
For example, R means the right layer clockwise when looking directly at the right side. R′ reverses that turn, and R2 is a half turn. The notation guide explains all six faces.
Each numbered card shows one move and its notation, such as R or U′. Choose “All steps & formula” to read the whole solution. Select a card to inspect that position; switch back to “Step by step” for playback.
“Previous” animates the inverse move; undo it on your physical cube too. “Replay last turn” repeats only the demonstration without changing your completed step: do not repeat it on the real cube. Autoplay can be paused, and speed ranges from 0.5× to 2×. Open “All steps & formula” to copy the formula or jump to a position. After a jump or a reload, you will be asked to match your real cube before continuing. If you made a wrong turn, open “My cube doesn’t match”; “Edit this step” lets you correct the current position and calculate a fresh solution.
Using a known scramble instead
Open “Edit tools” → “Scramble.” Type a sequence such as R U R′ U′. Straight and curly primes are accepted. The app applies that scramble to a solved cube; it does not apply it to the current color entry. Use this option only when you know the scramble your physical cube followed.
“Generate scramble” creates a practice formula and loads its cube. After solving, copy the solution formula, download the written steps, or copy a cube link to open the same position elsewhere. Your current input and step are restored after refresh when browser storage is available. Learn a method in the animated beginner guide.